If you’ve read my previous post “WordPress – Step One” then you know how to install and link-up your WP website and database. After installation my suggestion is to install your Commercial Theme (or a quality free one if you prefer), configure the “settings”, assign “users” as applicable, and use “tools” to add the Theme demo content if available.
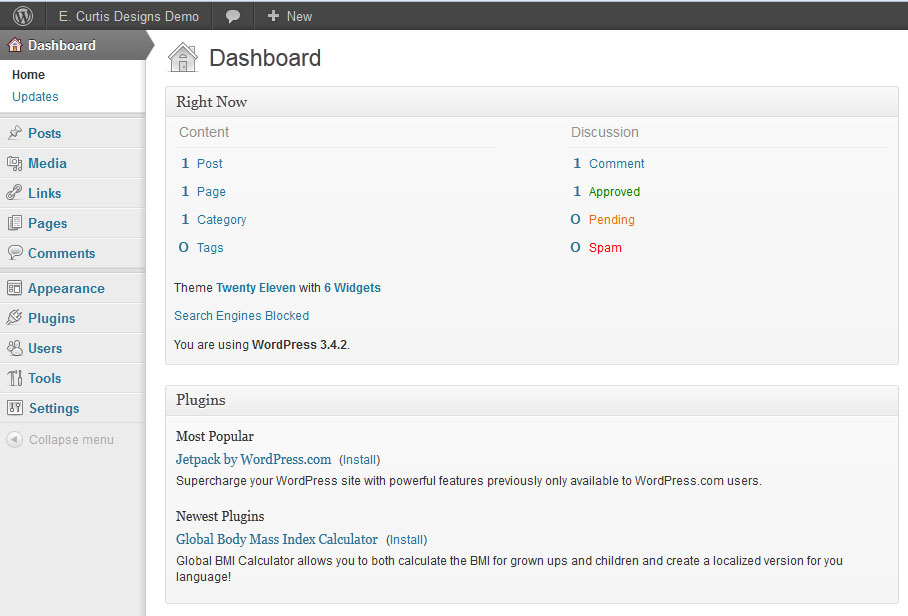
First you need to navigate to the WP Admin section. This is your URL followed by wp-admin (https://www.yourdomainname.com/wp-admin/); if you are linking by way of an IP address it would be
https://IPAddress/~hostingaccountusername/wp‐admin/. This will take you to the “Dashboard” of the WP editing area after you log-in.
At the very top of the dashboard is a “Screen Options” tab. Click this tab and a panel opens that allows you to decide what content will be included on the dashboard, and since I like the Admin area clean (without all the latest WordPress and Plugin news) I will un-check most of the options. At the left column of the Admin area you will see the navigation buttons used to work within WordPress.
USERS
The “Users” section is for creating new users and editing existing ones. There is “all users”, “add new”, and “your profile”. As you would expect all users just shows a listing of the users with their username, name, email, role, and number of posts. Initially you will have your chosen name (admin by default) which will have full “administrative” privileges – full privileges provides the ability to make any and all changes. By default if someone registers to your site they will be assigned the role as “subscriber”. This allows them to comment on a post or page (if enabled), but that’s it. Other options include “contributor”, “author”, and “editor”. The contributor can write a post but it has to be approved by either an editor or administrator before it will be published/viewable, and once added the contributor can’t edit their post. An author can write a post and edit it once it has been published, and the author does not need admin/editor approval for it to be live. An editor can make changes to and/or delete any post not created by an administrator. An administrator can create new users, assign and/or change user levels, delete members, edit/delete posts, etc. Only an administrator can make changes to plugins, menus, and other settings.
The “Add new” allows you to create a new member, wherein you add their username, email, first and last name, website URL, and password. Be sure to select the “role” option to assign them accordingly. I would never let anyone else have administrator role unless you absolutely trust them. The “Your profile” link will allow someone logged-in to add a bit more info about themselves which can be viewed upon clicking the author name of a post or page. The important thing to note here is the “nickname” option. Since you don’t want your admin name noted simply choose a different nickname (what will be displayed as the page/post author).
TOOLS
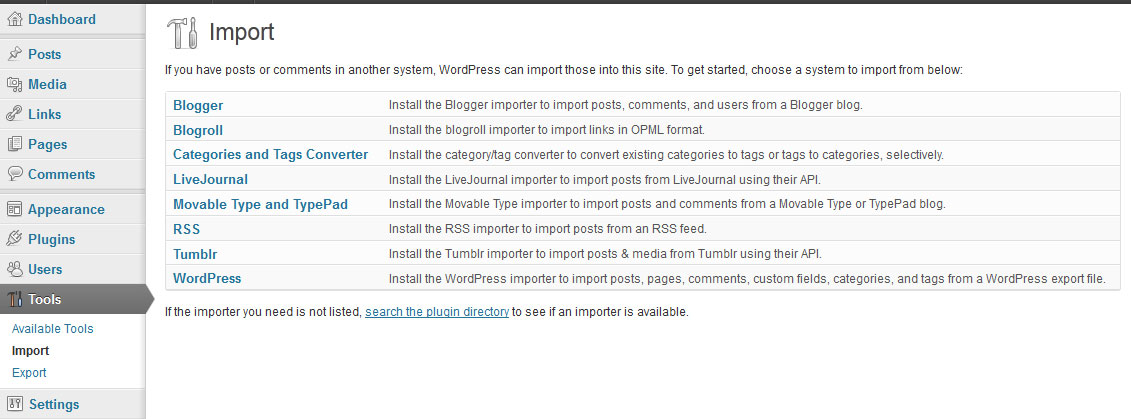
Tools is not an area you would need often. I typically only use this section after a commercial Theme has been activated to import the Theme files from their demo (an XML data file); you select the import “tool” and then select “WordPress” and just navigate to the file. Note that by default (under “available tools”) there will be two tools included: “Press This” and “categories and Tags converter”. The purpose of these are explained in this section.
SETTINGS
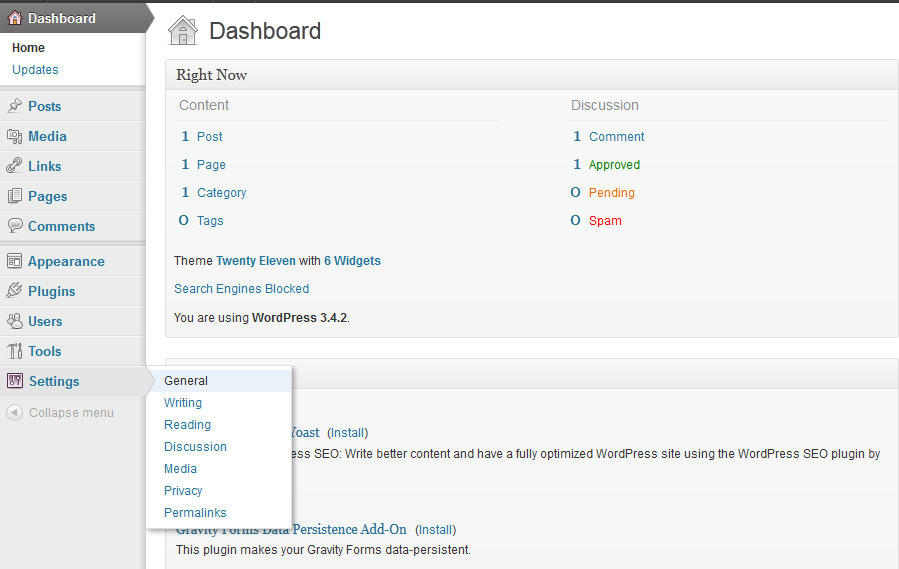
The settings area is used to define many different WordPress specific aspects. Firstly, Settings contain “general”, “writing”, “reading”, “discussion”, “media”, “privacy”, and “permalinks”.
General: “General” has the website title and tagline. You can change these if you desire but keep both relatively short for SEO purposes. The WordPress address and site address are the same. The email address is the one you provided initially upon installation and this is the address used when a notification needs to be sent such as a new user registration or a comment.
The important part here is the “membership” box. It says “Anyone can register”. I always check this so anyone can register, but I set their default role is “Subscriber”, which is the most limited. Timezone is applied by choosing the city closest, which for Sacramento is Los Angeles.
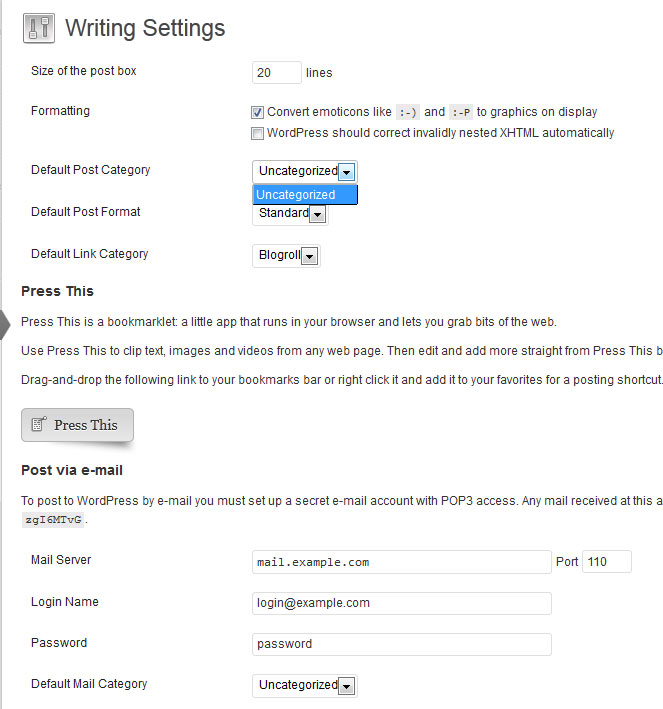
Writing: The “Writing” category contains the “Default Post Category” and “Default Link Category”. The default post category is “uncategorized” so this will be selected as the category of a post if no others are created and/or selected for a post. For the Link category the default is “Blogroll”. Once you get some links and categories you will want to come back to this and change from the predefined default categories to something meaningful. The “Press This” (Post via e‐mail) is only used if you plan to have a separate pop‐3 (Outlook) email account. You can also ignore “remote publishing” and “update services”.
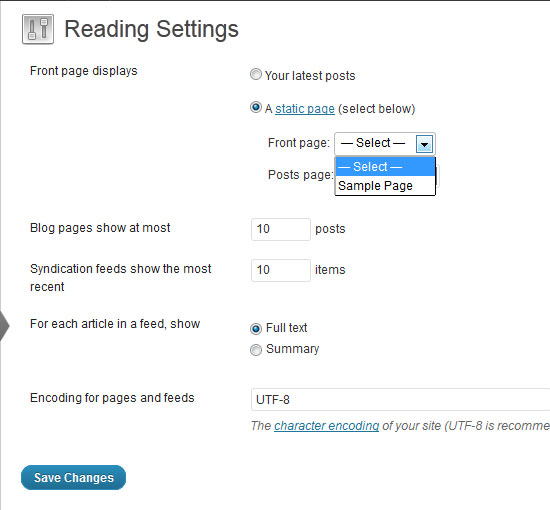
Reading: The “Reading” setting is a short, yet important area. At the top most will set the front page to display “A static page”, which would typically be titled “Home”. For the Posts page it is generally “Blog”. If you changed the name of your home page to something like “About Us” then you would come back here and assign the new page to the Front page by selecting it from the drop‐down. This is the same for the blog. Note that if you selected that the front page to display “Your latest posts” then your site would show the blog on the home page (used for magazine and blog sites). Below this you are asked the number of blog posts to show and syndication feeds posts to show (used for RSS) … I typically set 10 for each. whether you want an article in a feed to show full text or summary, and the encoding to be used (UTF‐8 is used for North America).
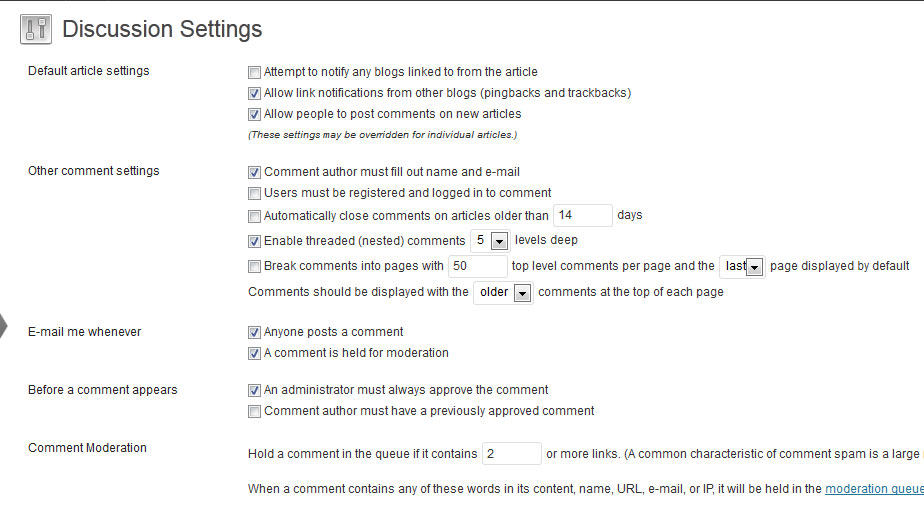
Discussion: The “Discussion” setting has the default article settings, comment settings, email when, and comment moderation fields. For article settings I select “allow link notifications” and “allow people to post comment on new articles”. This will allow the subscriber to comment, but if I unchecked this then they would not be able to comment unless I chose to override this per a specific article. The link notification for pingbacks/trackbacks will simply let you know when your blog post has been linked to. As a general rule most will allow comments on posts (the blog) yet disable commenting on pages since these are not intended as discussion points and timely news, they are to provide information about the company/business.
In comment settings you select whether a commenter must fill out name and email; I typically don’t select “must be registered and logged in to comment” since this will often discourage someone from posting something. I always have the email settings applied to contact me when a comment is posted. Next you’ll see “before a comment appears” and I set it so that an administrator must always approve the comment.
The other option would be to deselect “must always approve” and instead select “must have previously approved comment”. In this case you would only need to approve the first comment, yet all others wouldn’t need approval; I don’t suggest this though since someone might write a nice comment first solely so they can spam you after.
Below this area we have comment moderation and comment blacklist; should be self‐explanatory. Finally we have the avatars area, allow or disallow, and rating (most sites would be suitable to all audiences).
Media: The media setting is for default WordPress image size settings and where files are stored. I would just leave this as‐is.
Privacy: This tells the search engines to index a site or not; of course you want it to be found so you select the “allow” option once your site is ready to go live.
Permalinks: This is where you define how the URL will appear in the address bar. In effect the PHP string URL is rewritten to show a search engine friendly one. The “custom structure” is generally the best for a website so I type /%category%/%postname%/ in the box. This tells WordPress to only display the category name and the post name or page. Note that for pages only the “postname” is shown since the pages are not linked to a category as posts and portfolio pages are.
COMMERCIAL THEMES
To install a commercial theme you open “Appearance” and select “Themes”. Here you will see the two installed automatically under the tab “Manage Themes”; select the “Install Themes” tab and you will see an “upload” option – this allows you to install a zip file of your chosen theme. Note that most commercial themes will contain additional files such as a read-me guide, PSD image files, etc. So unzip the commercial theme first to ensure that what your uploading as a zip is just the theme itself. In some cases the commercial theme may not be provided as a zipped archive, in this case you would upload the theme folder into the “themes” directory (inside of the “wp-content” folder). If you are looking for a free theme then you can choose the “search for themes by keyword” field, or the “feature filter” to find a free one that will contain the elements you are looking for.
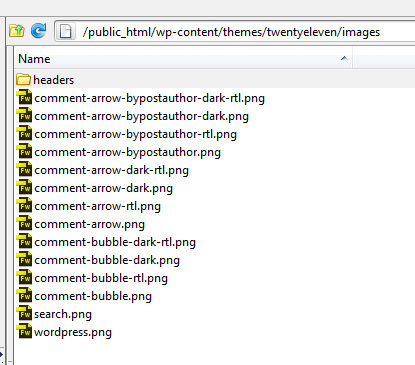
If you’ve installed a commercial Theme then you will find Theme specific settings as well, usually provided under the Theme name in its own section (outside of Settings). Since every theme is different it is difficult to say what you will find, but as a rule their will be options to edit the Logo, Page Colors, Typography, Header, Footer, Sidebars, Slider, Blog, and Contact Page. If you are web savvy then you could make many of the changes desired by FTP access. For example you can upload your logo into the Theme image folder and overwrite the existing, you can edit the CSS files in your preferred code editor, and you can upload themes and plugins directly instead of using the “install” features of WordPress. In the following image you can see that I have used my FTP program to open the Theme’s image folder. If Twenty-Eleven theme had a logo (it doesn’t) I would expect to find it in either the “images” folder, or the “header” folder as shown following.
In my next blog post I will cover how to work within WordPress to begin adding and editing content.
